How to use UVW + AO Studio
Install
- Download
uvw_ao_studio-x.y.z.rbzfrom your account page. - In SketchUp open Extensions > Extension Manager > Install Extension and choose the .rbz file.
- The UVW + AO Studio toolbar and menu appear. Restart SketchUp if they do not.
- Use any command once and sign in with the email and password of your binersoft.com account.
Use
Use the menu Extensions > UVW + AO Studio, the UVW + AO Studio toolbar, or right click on a selection.
- Seams: select edges (Select tool, Shift to add) and click Mark Seam / Clear Seam. Or use Seams from Hard Edges, Seams by Angle... or Clear Seams in Selection. Show / Hide Seams toggles the red lines.
- Select faces, a group or a component (nothing selected = whole model) and click Unwrap...
- Method: Unwrap (LSCM, seams) / Smart UV Project / Cube / Cylinder / Sphere
- Seams: Marked only / Marked + hard edges (default, good for SketchUp models) / Marked + angle limit / Hard edges only
- Material: Keep existing / UV checker
- Bake AO...: choose resolution, samples, occluders (Selection only / Whole model) and UV layout (Keep if usable / Re-unwrap). Faces without usable UV are unwrapped first automatically.
- Switch to the Textured style to see the result. The material
AO_<object name>can be reused in the material editor.
Tips: use 32 samples while working and 48 to 64 samples at 1024 px for the final bake. Closed islands without a seam (a sphere, a tube) cannot be LSCM-unwrapped, same as in Blender, so they fall back to Smart UV Project.
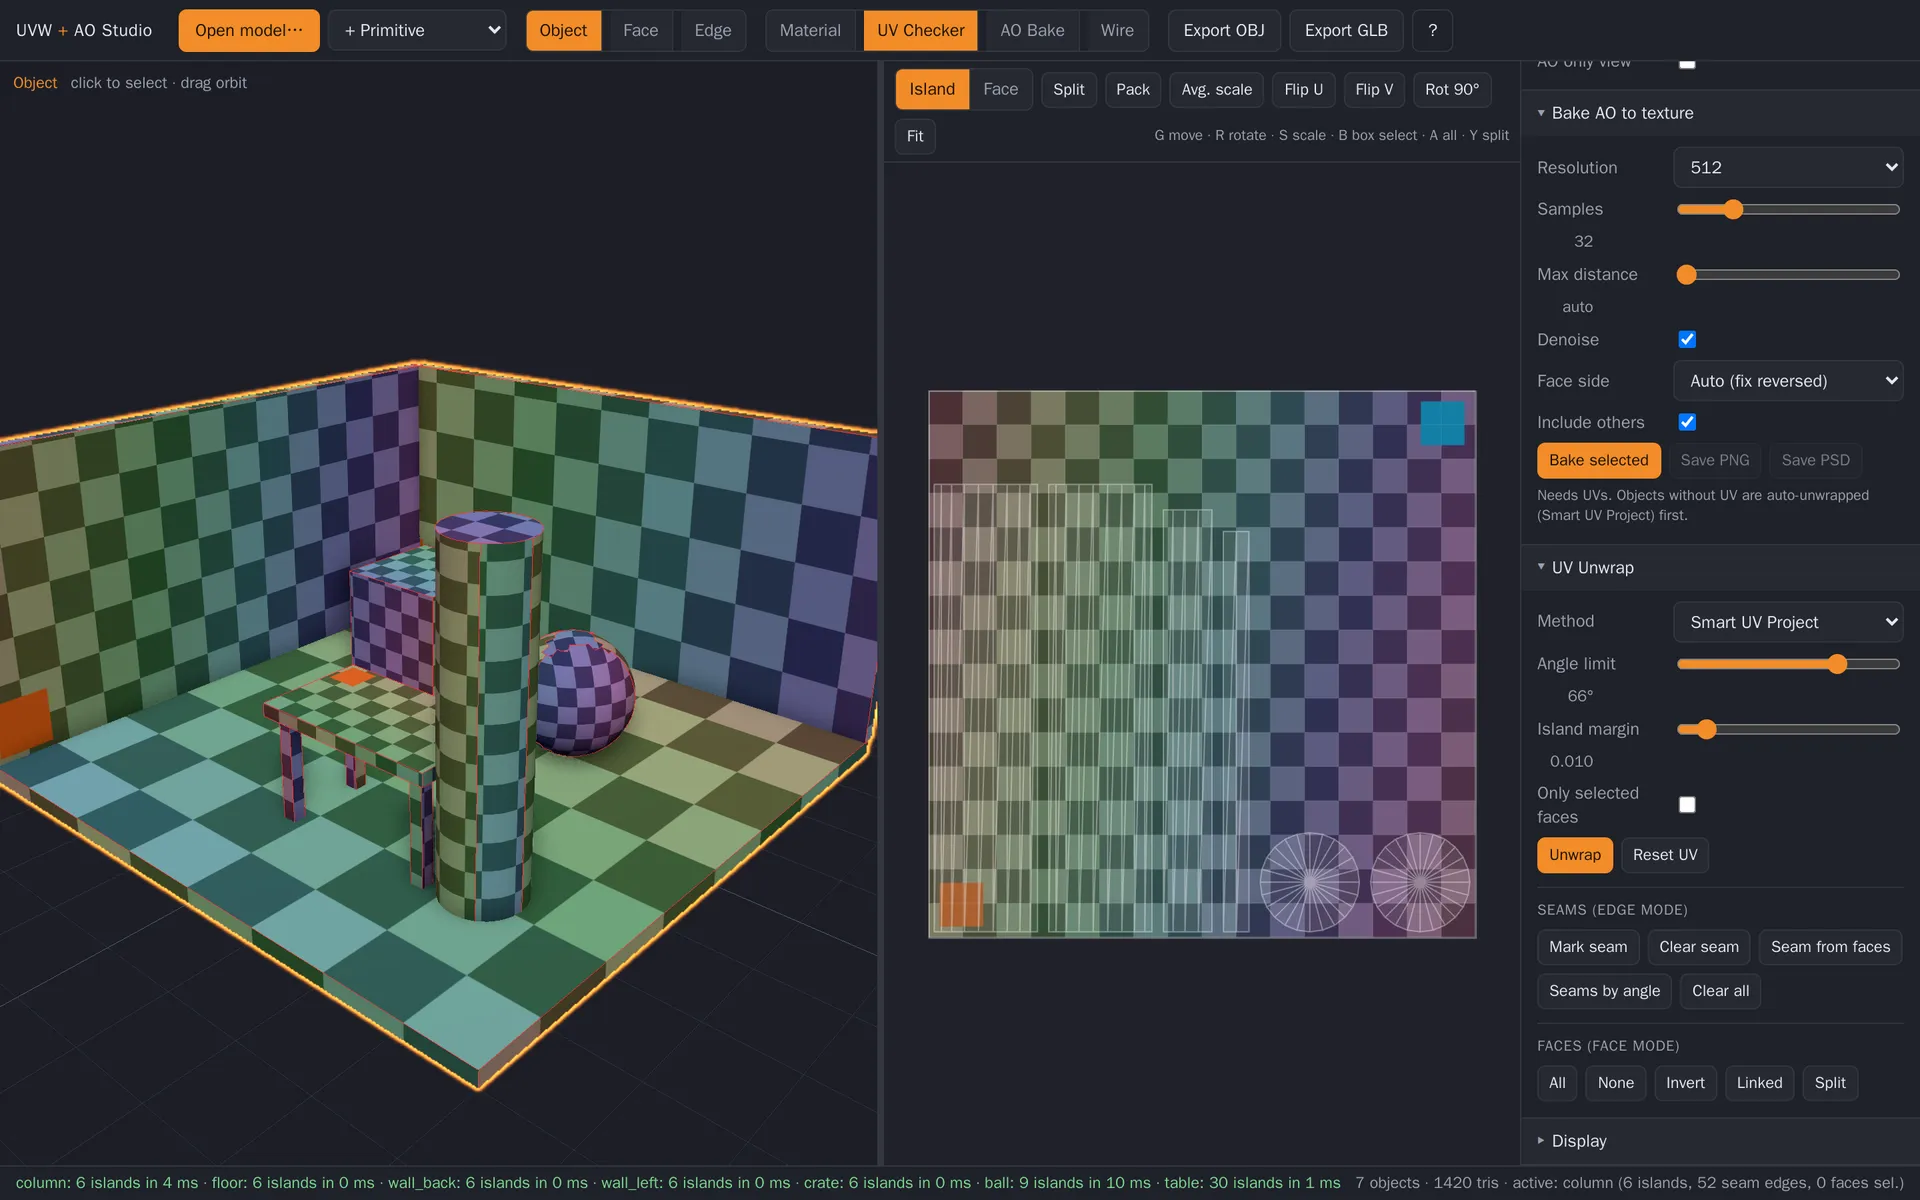
Smart UV Project with UV checker and the UV editor next to it
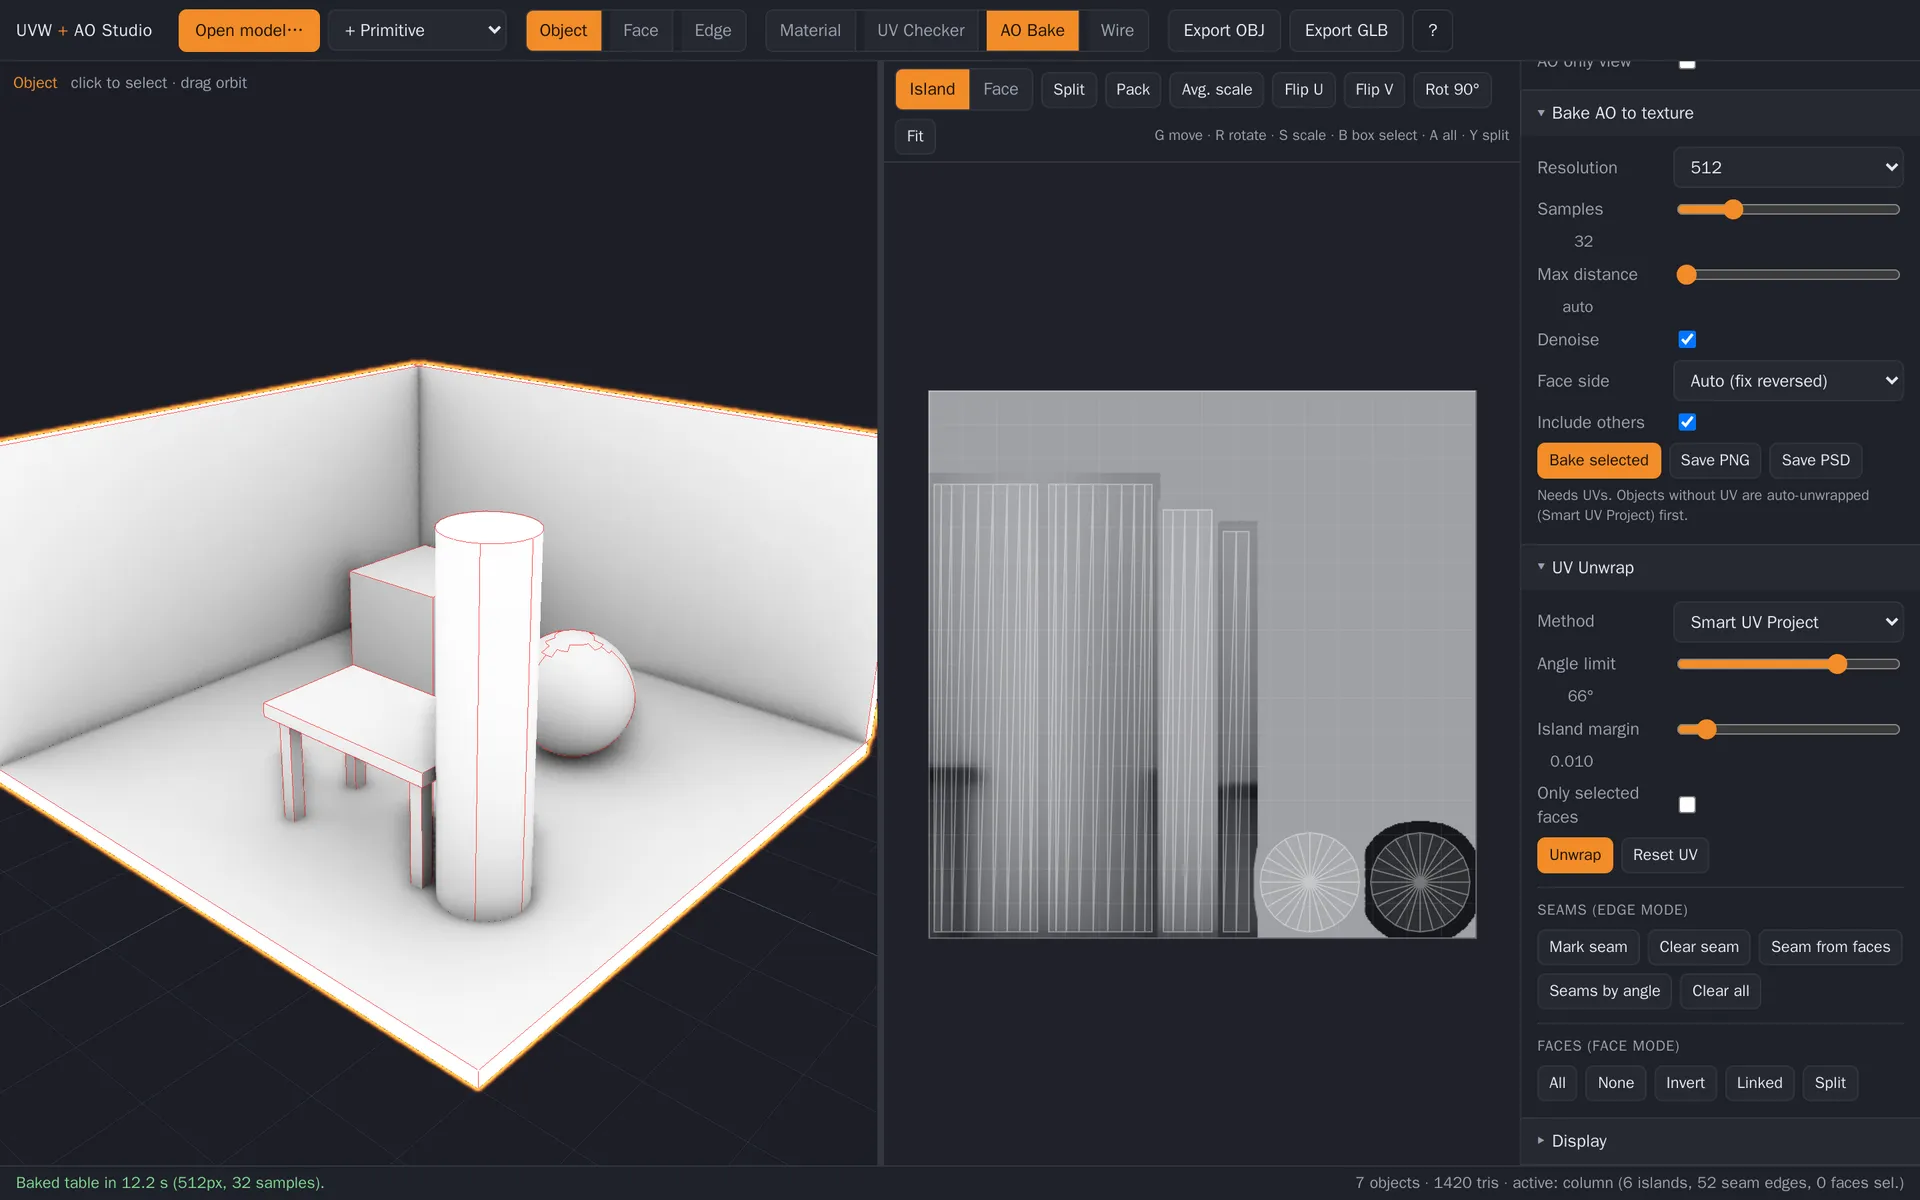
Ambient occlusion baked into the texture, ready to save as PNG or PSD